The value of an HPE dHCI (disaggregated hyper-converged infrastructure) is the ability to scale compute and storage independently of each other. Nutanix definitely trail-blazed hyper-converged technology along with Simplivity. Those solutions converged compute, storage, and network into a set of small appliances. Scaling was easy. Just add a node and the software would add the resources into the environment and protect workloads across the network. However, they didn’t allow scaling compute and storage independently. dHCI is born!
Another added value with HPE dHCI solutions is one-click upgrades. The dHCI automatic upgrade process will update the firmware within each of the servers, upgrade the version of ESXi installed on the servers, and update the version of the Alletra Storage Operating System. This includes a series of health checks. If the health checks don’t pass the system will not let you continue. When the system does pass, it will upgrade the entire environment with zero downtime. omg this is a GIANT time saver…and you’re not stuck troubleshooting errors messages or the reason an update can’t be applied. This is a solid video demonstrating the setup process, management, and upgrades.
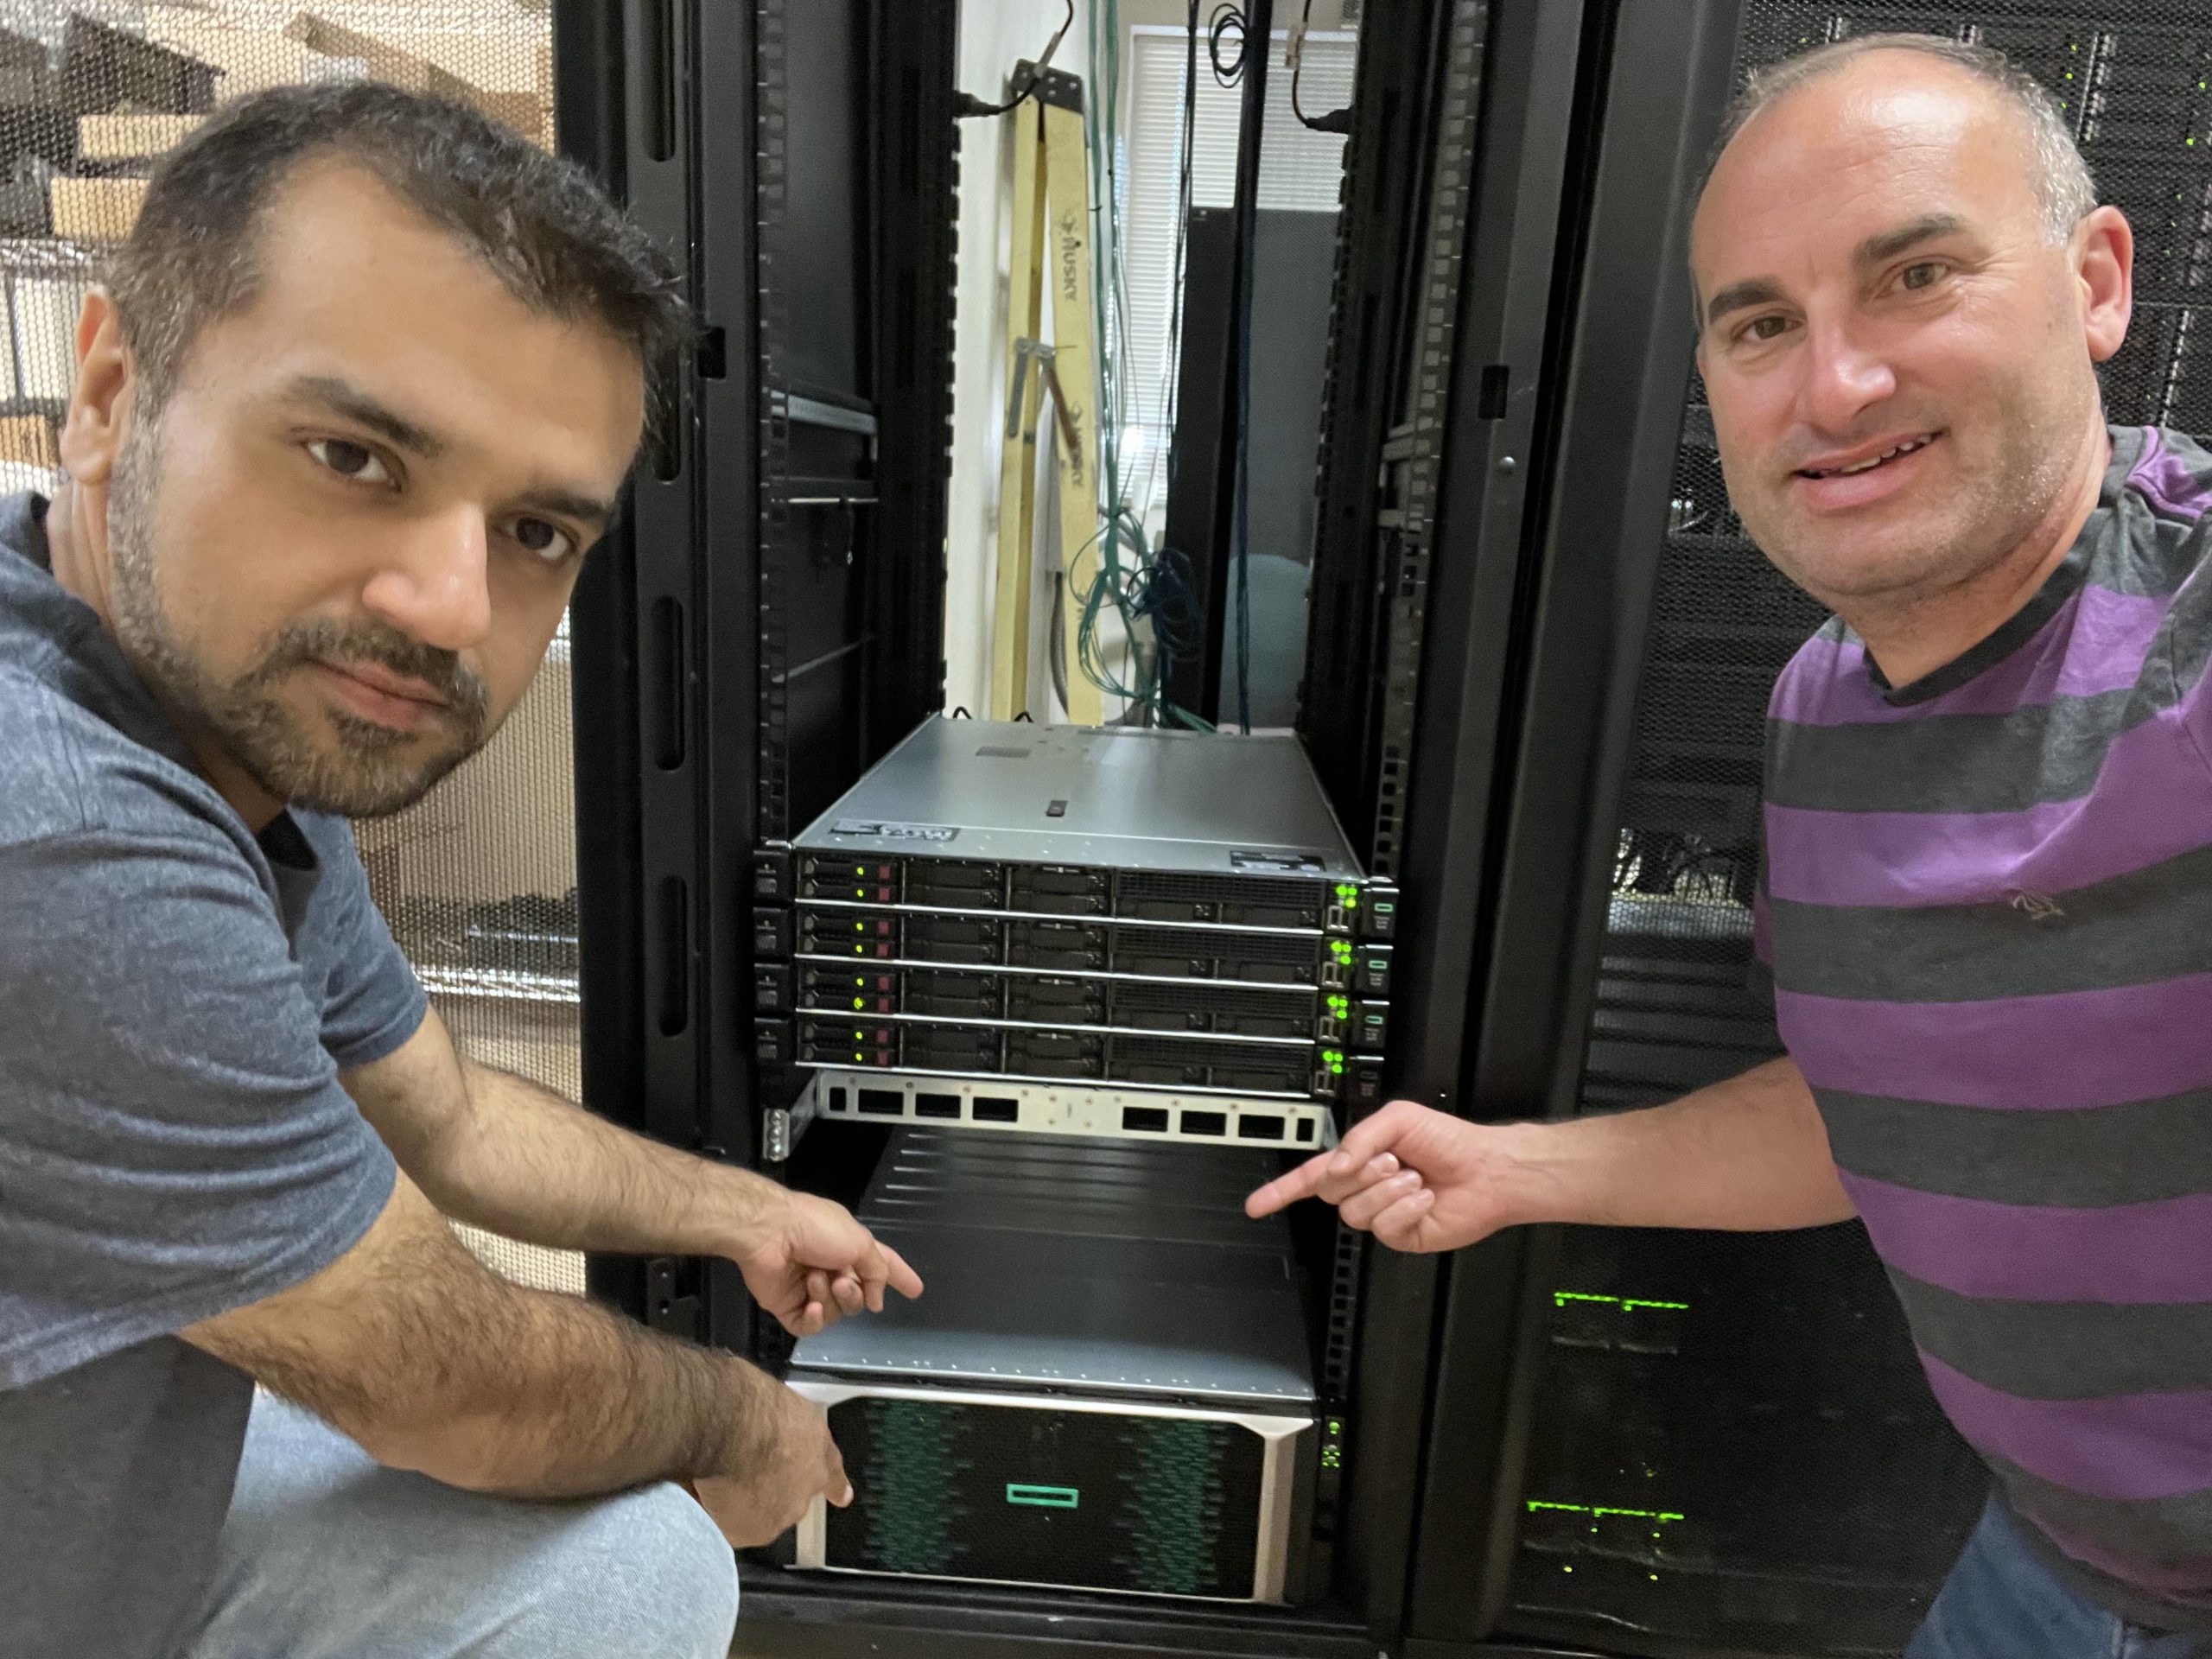
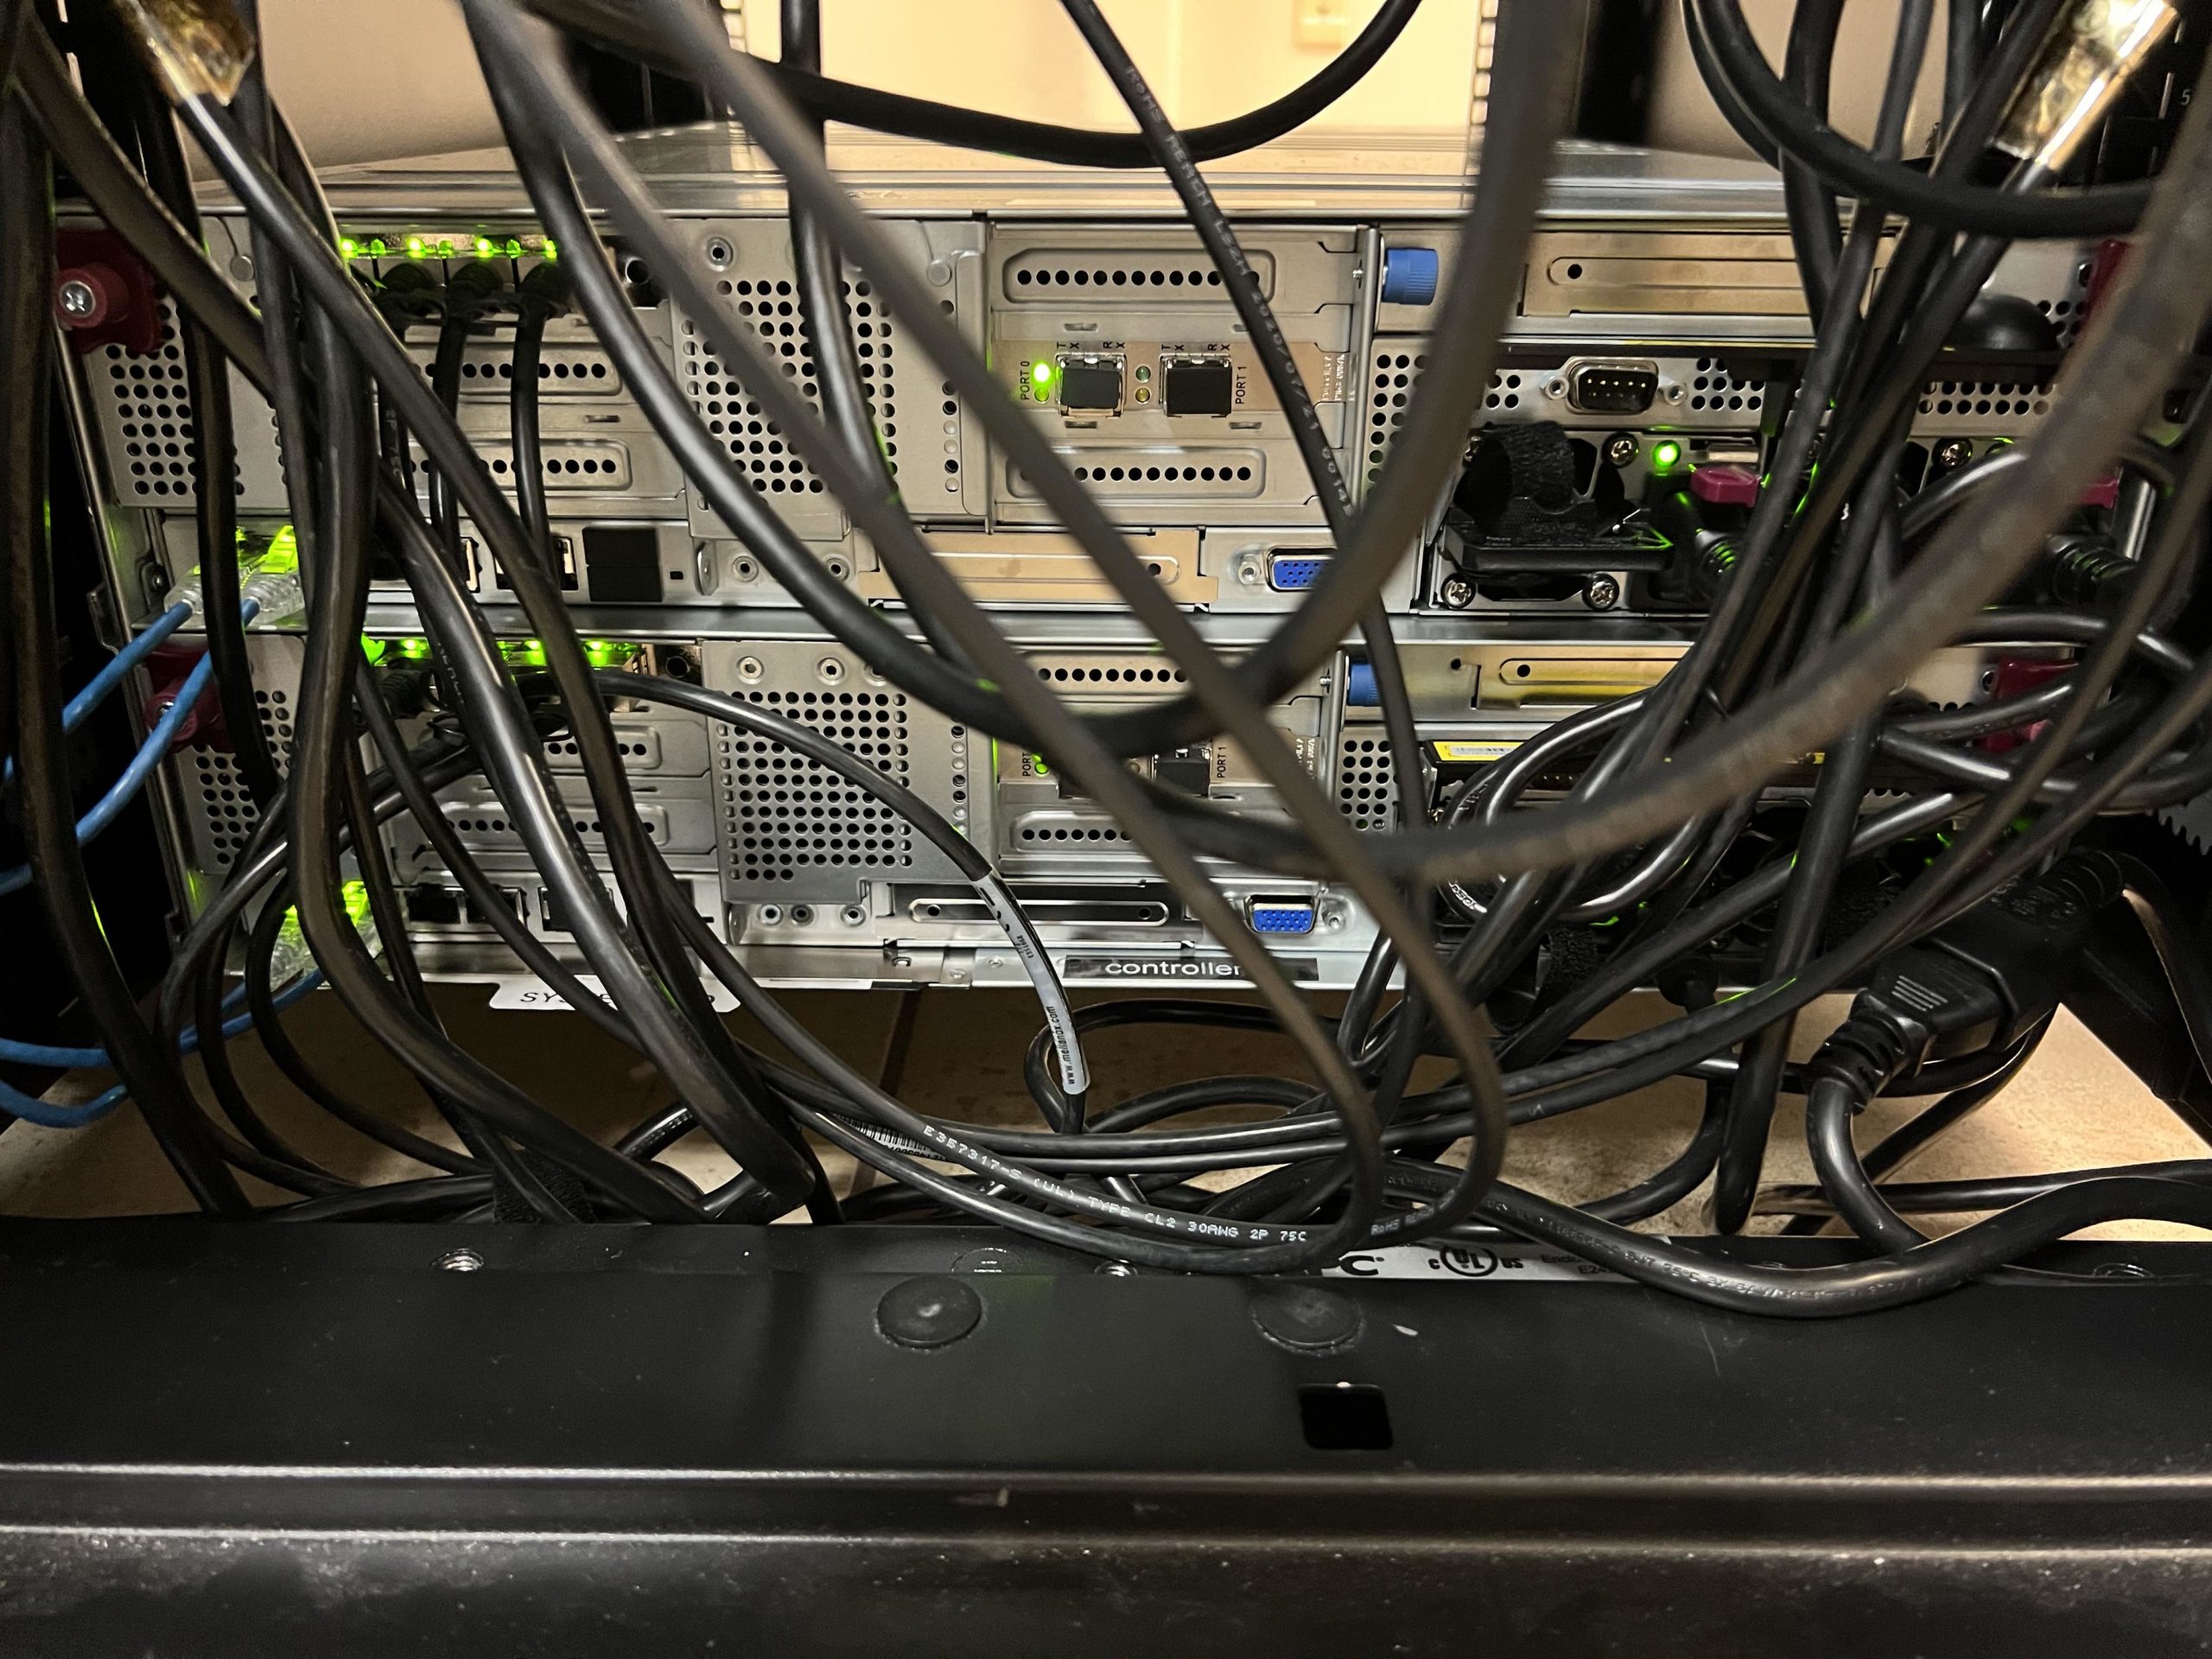
We installed our 10th HPE dHCI environment for a client running about 150 virtual machines across 2 full racks.
The old environment consisted of:
- HPE c7000 blade chassis
- (6) HPE BLc 460 Gen8 Servers
- Flex Fabric Interconnects
- Brocade Fiber Channel Switches
- HPE 3PAR 7200 Storage Array (consumed 75% of the rack)
- HPE StoreOnce backup appliance
- HPE A-Series Switches – 10GbE
The new dHCI environment consists of:
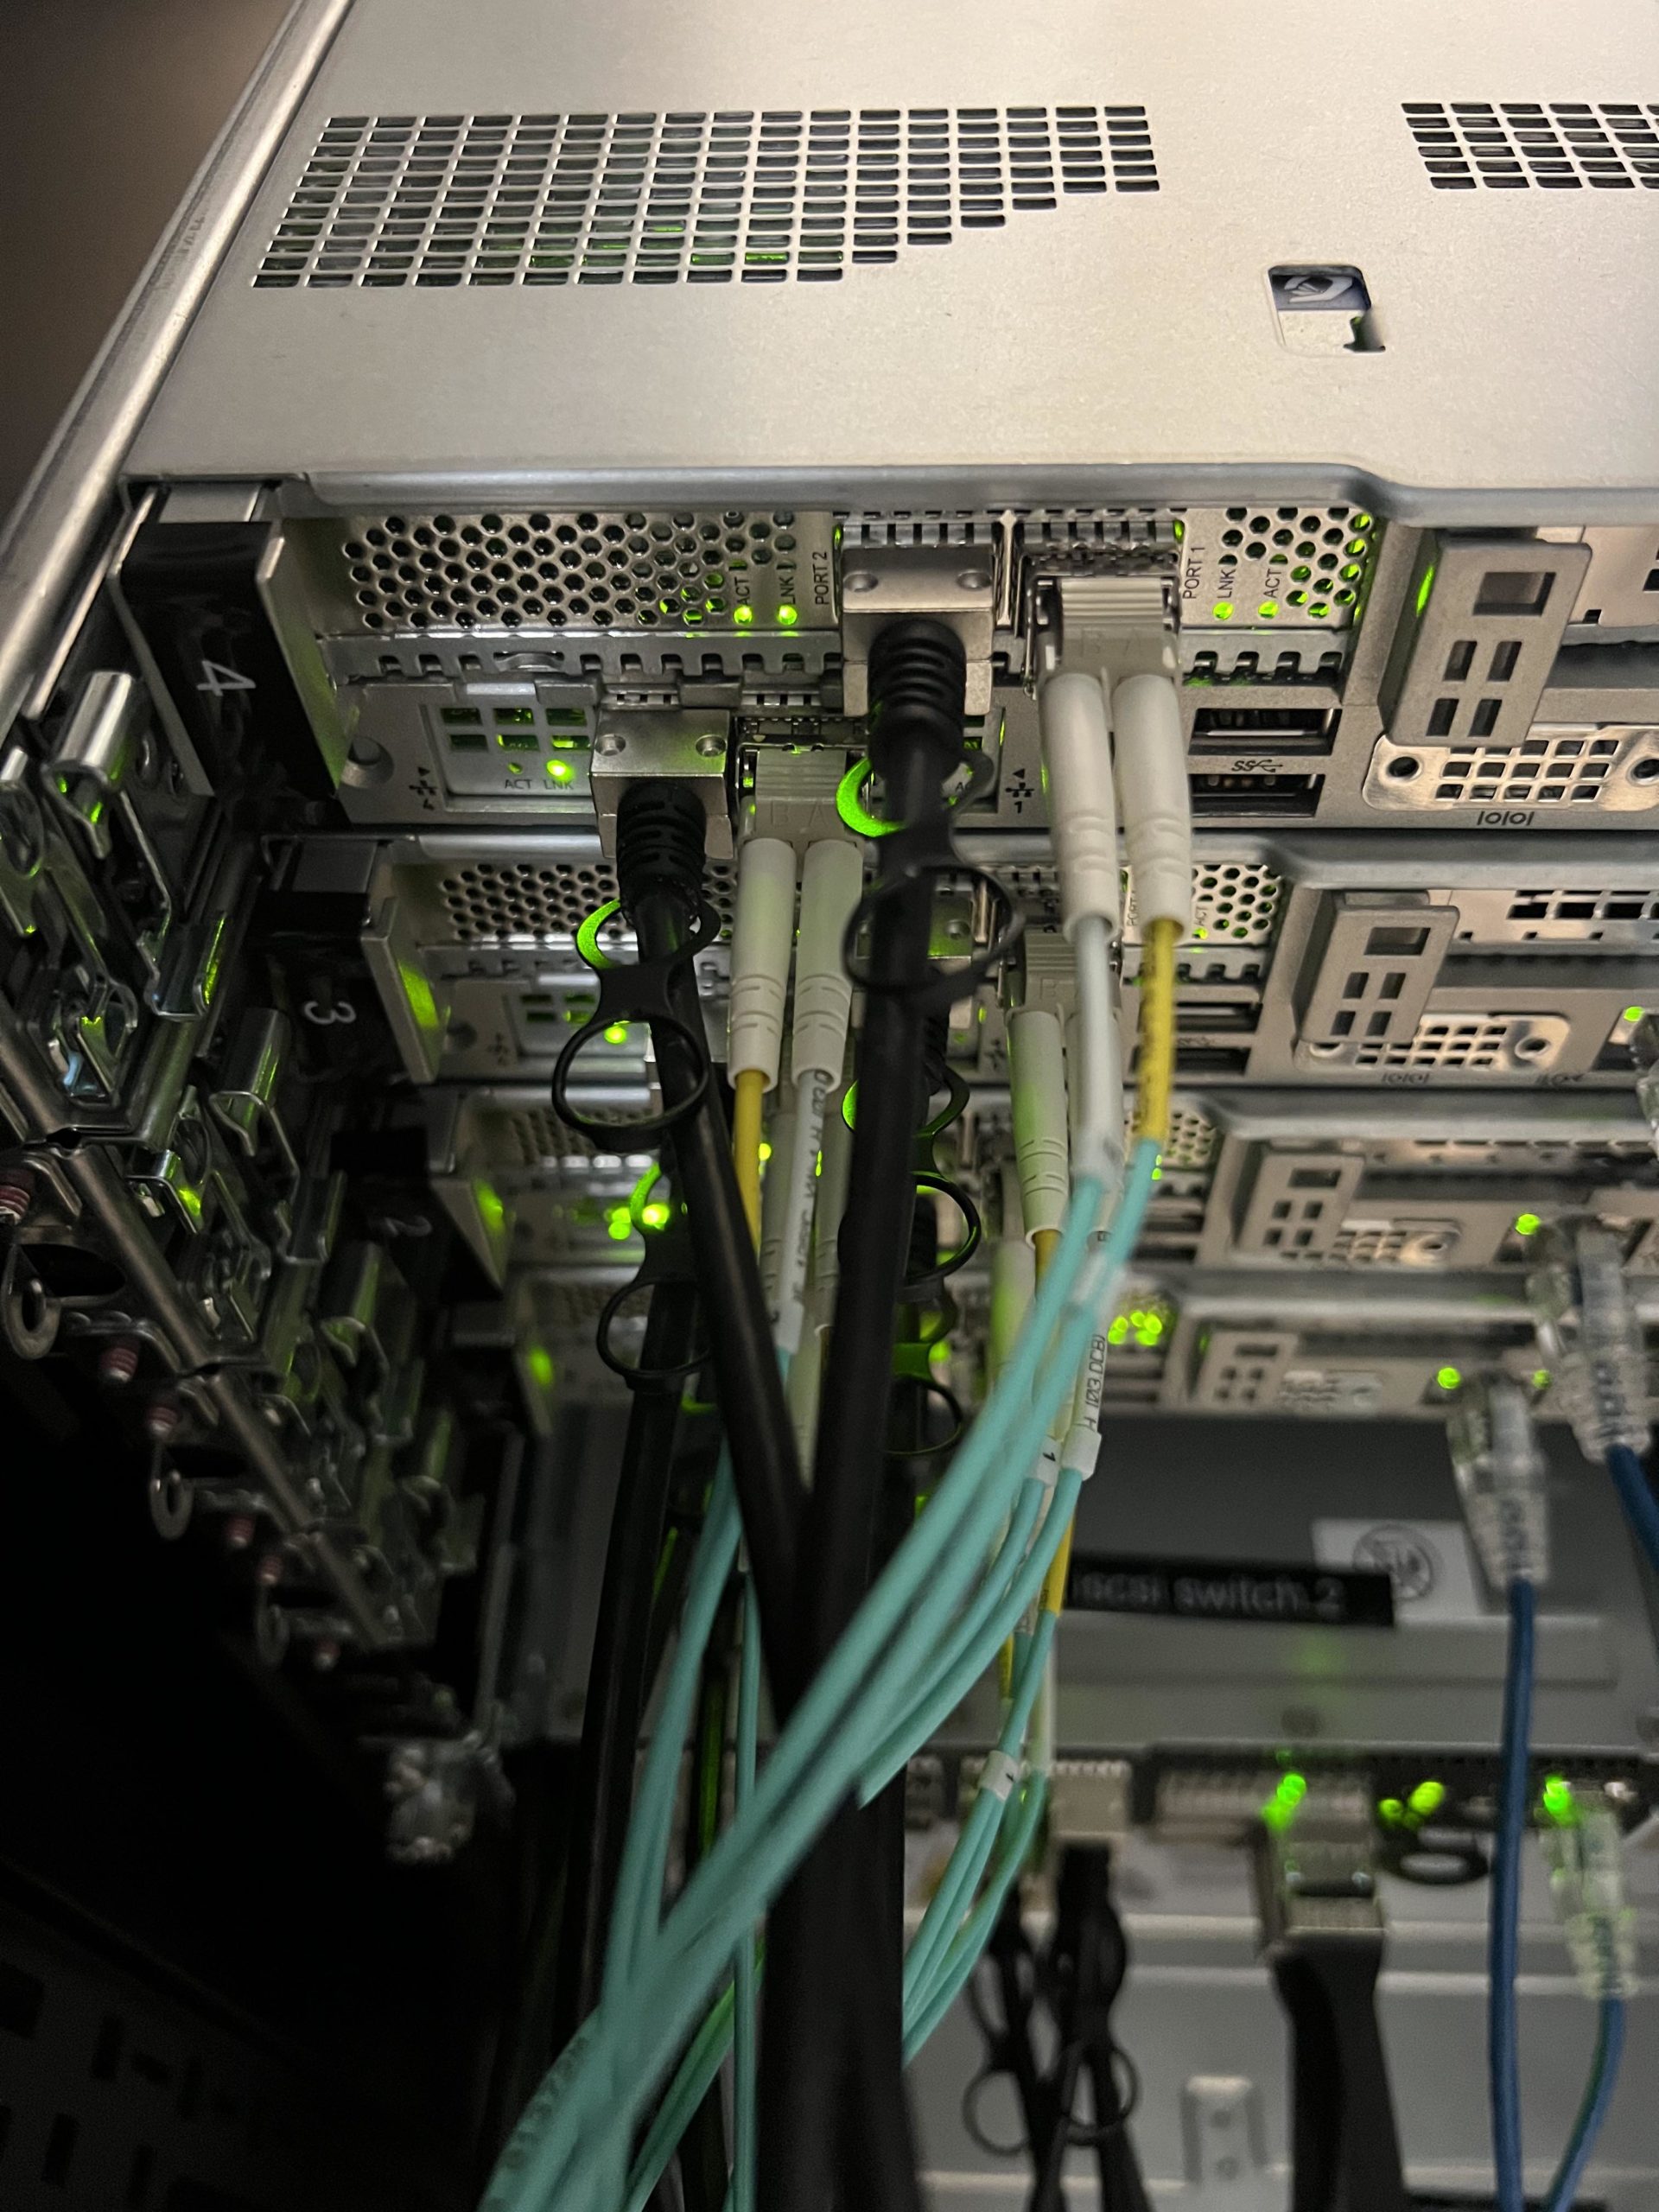
- (4) HPE DL360 Gen10 servers (Each server configured with 20 Cores Intel Xeon @ 2.2GHz, 384GB Memory, and (4) 10GbE network interfaces for redundant iSCSI and network connections)
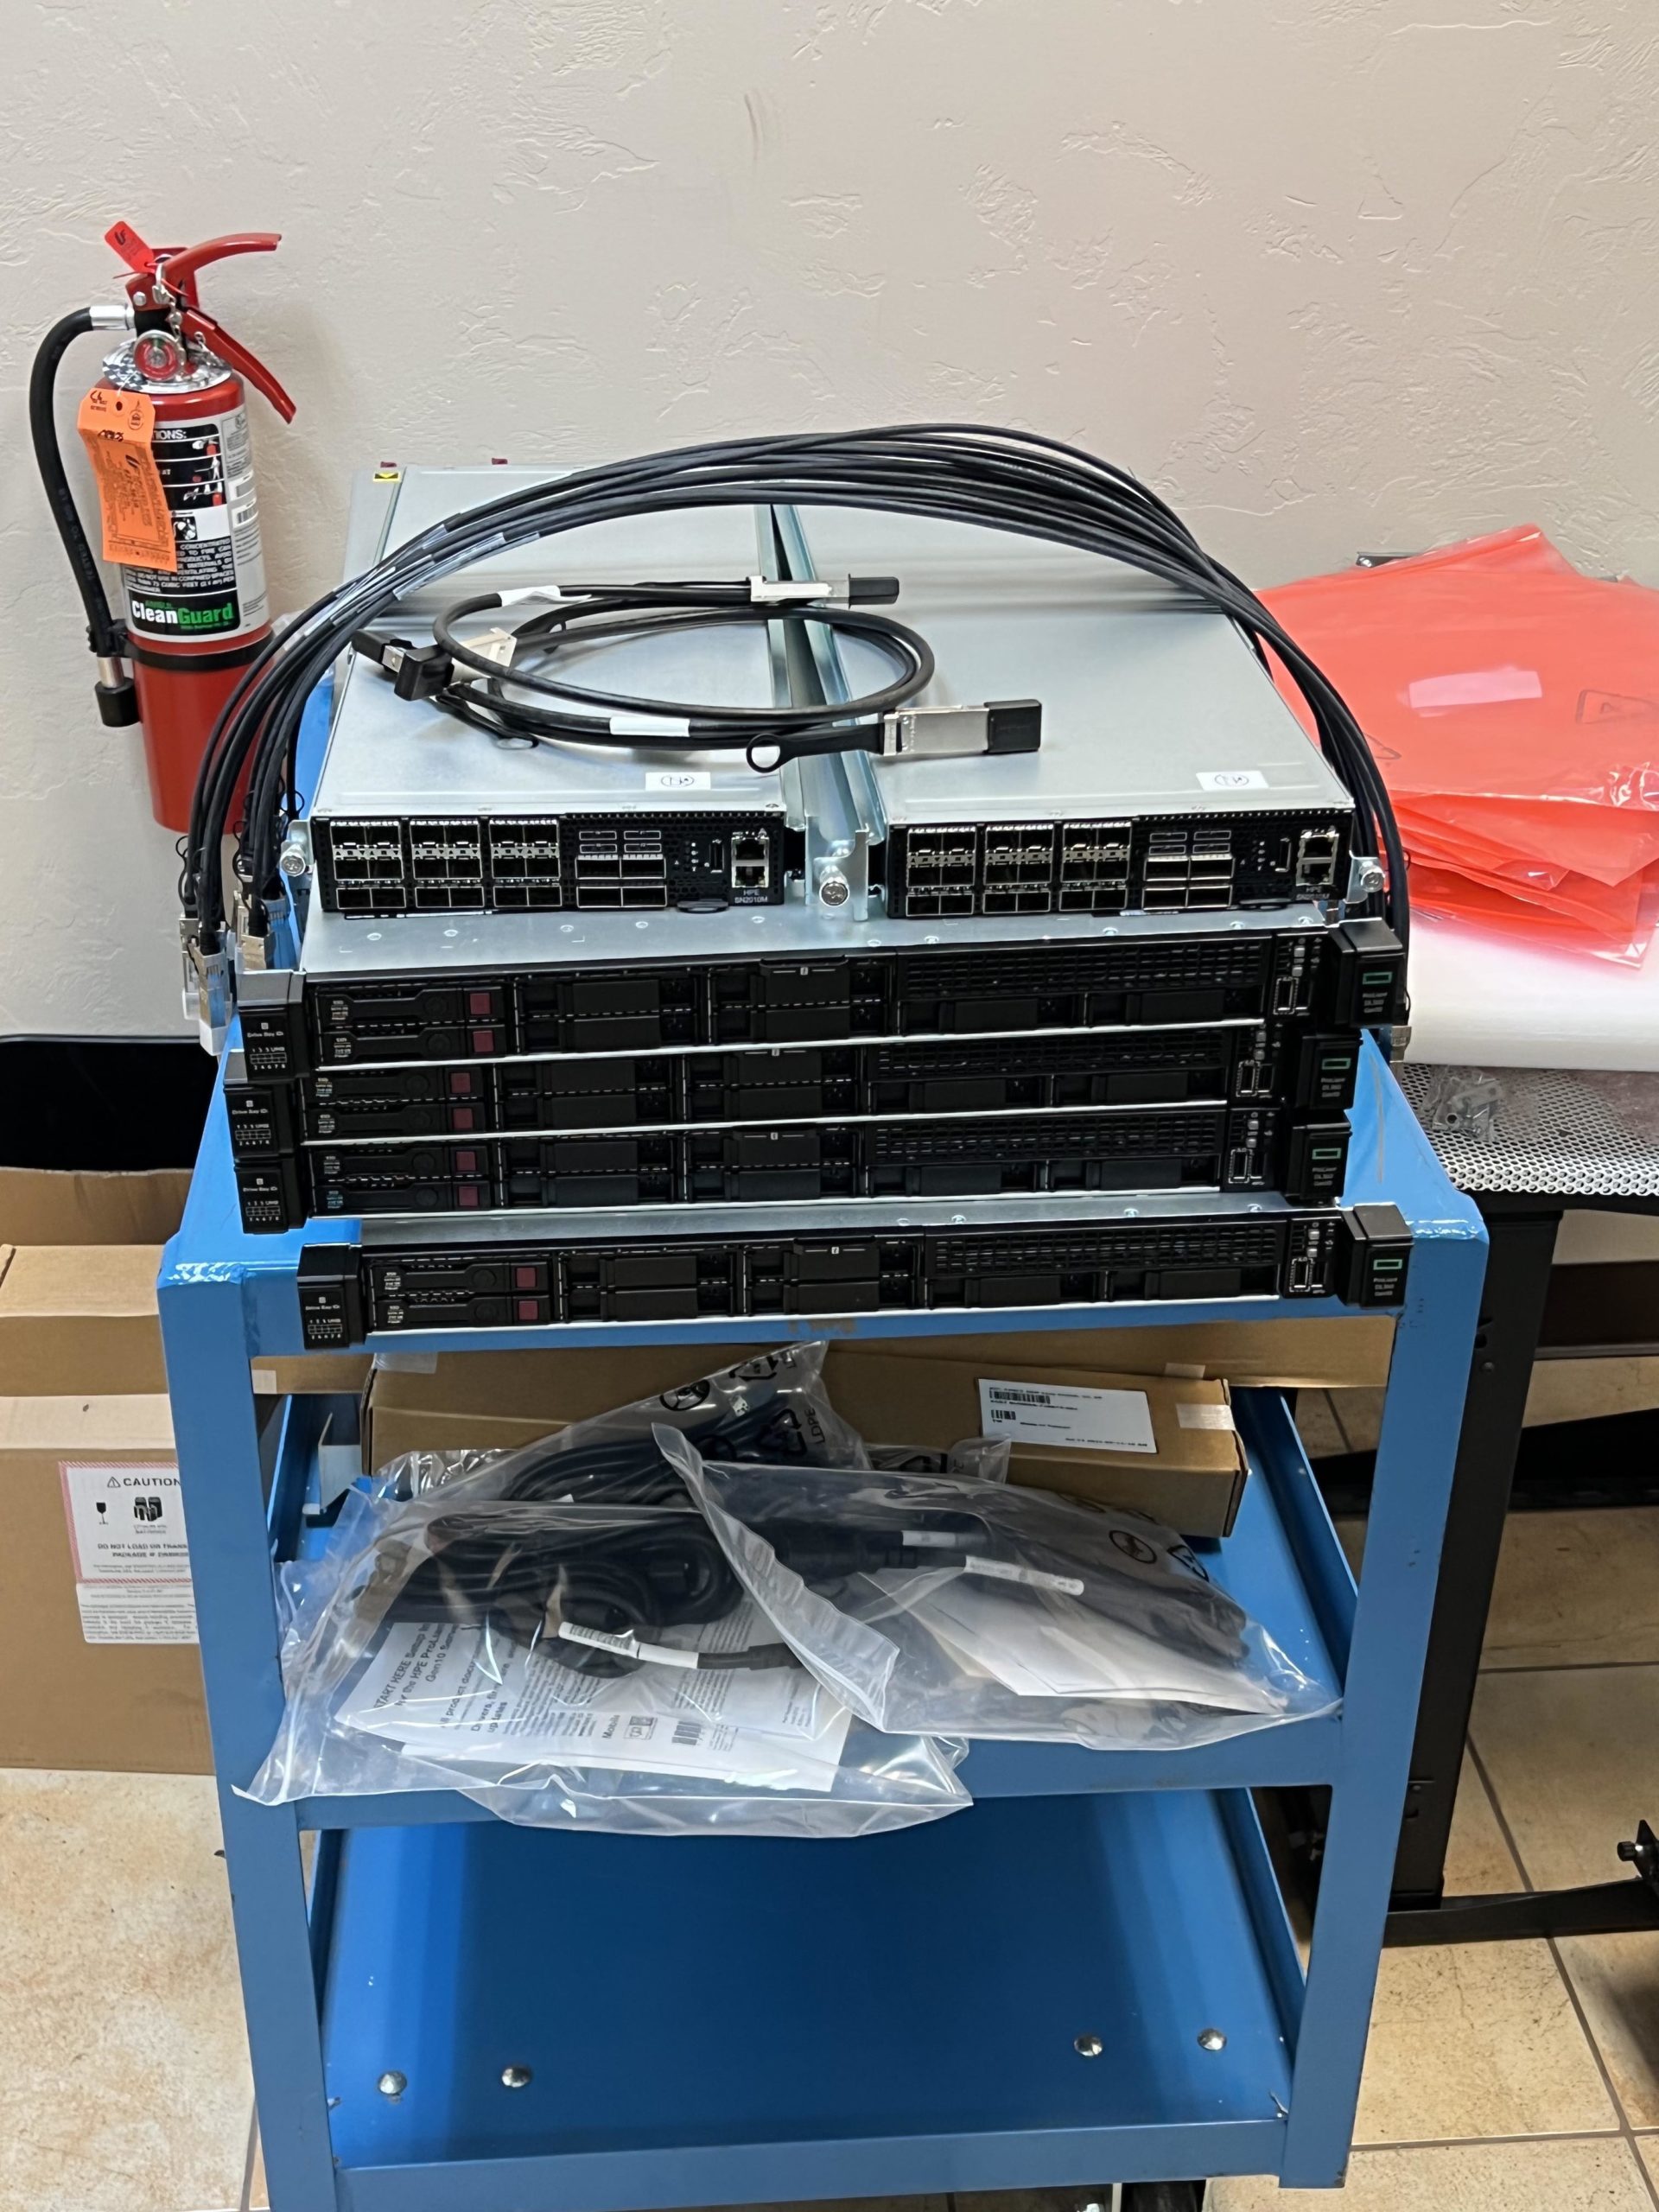
- (2) HPE SN2010m switches (iSCSI)
- (2) Cisco 350 switches (Network)
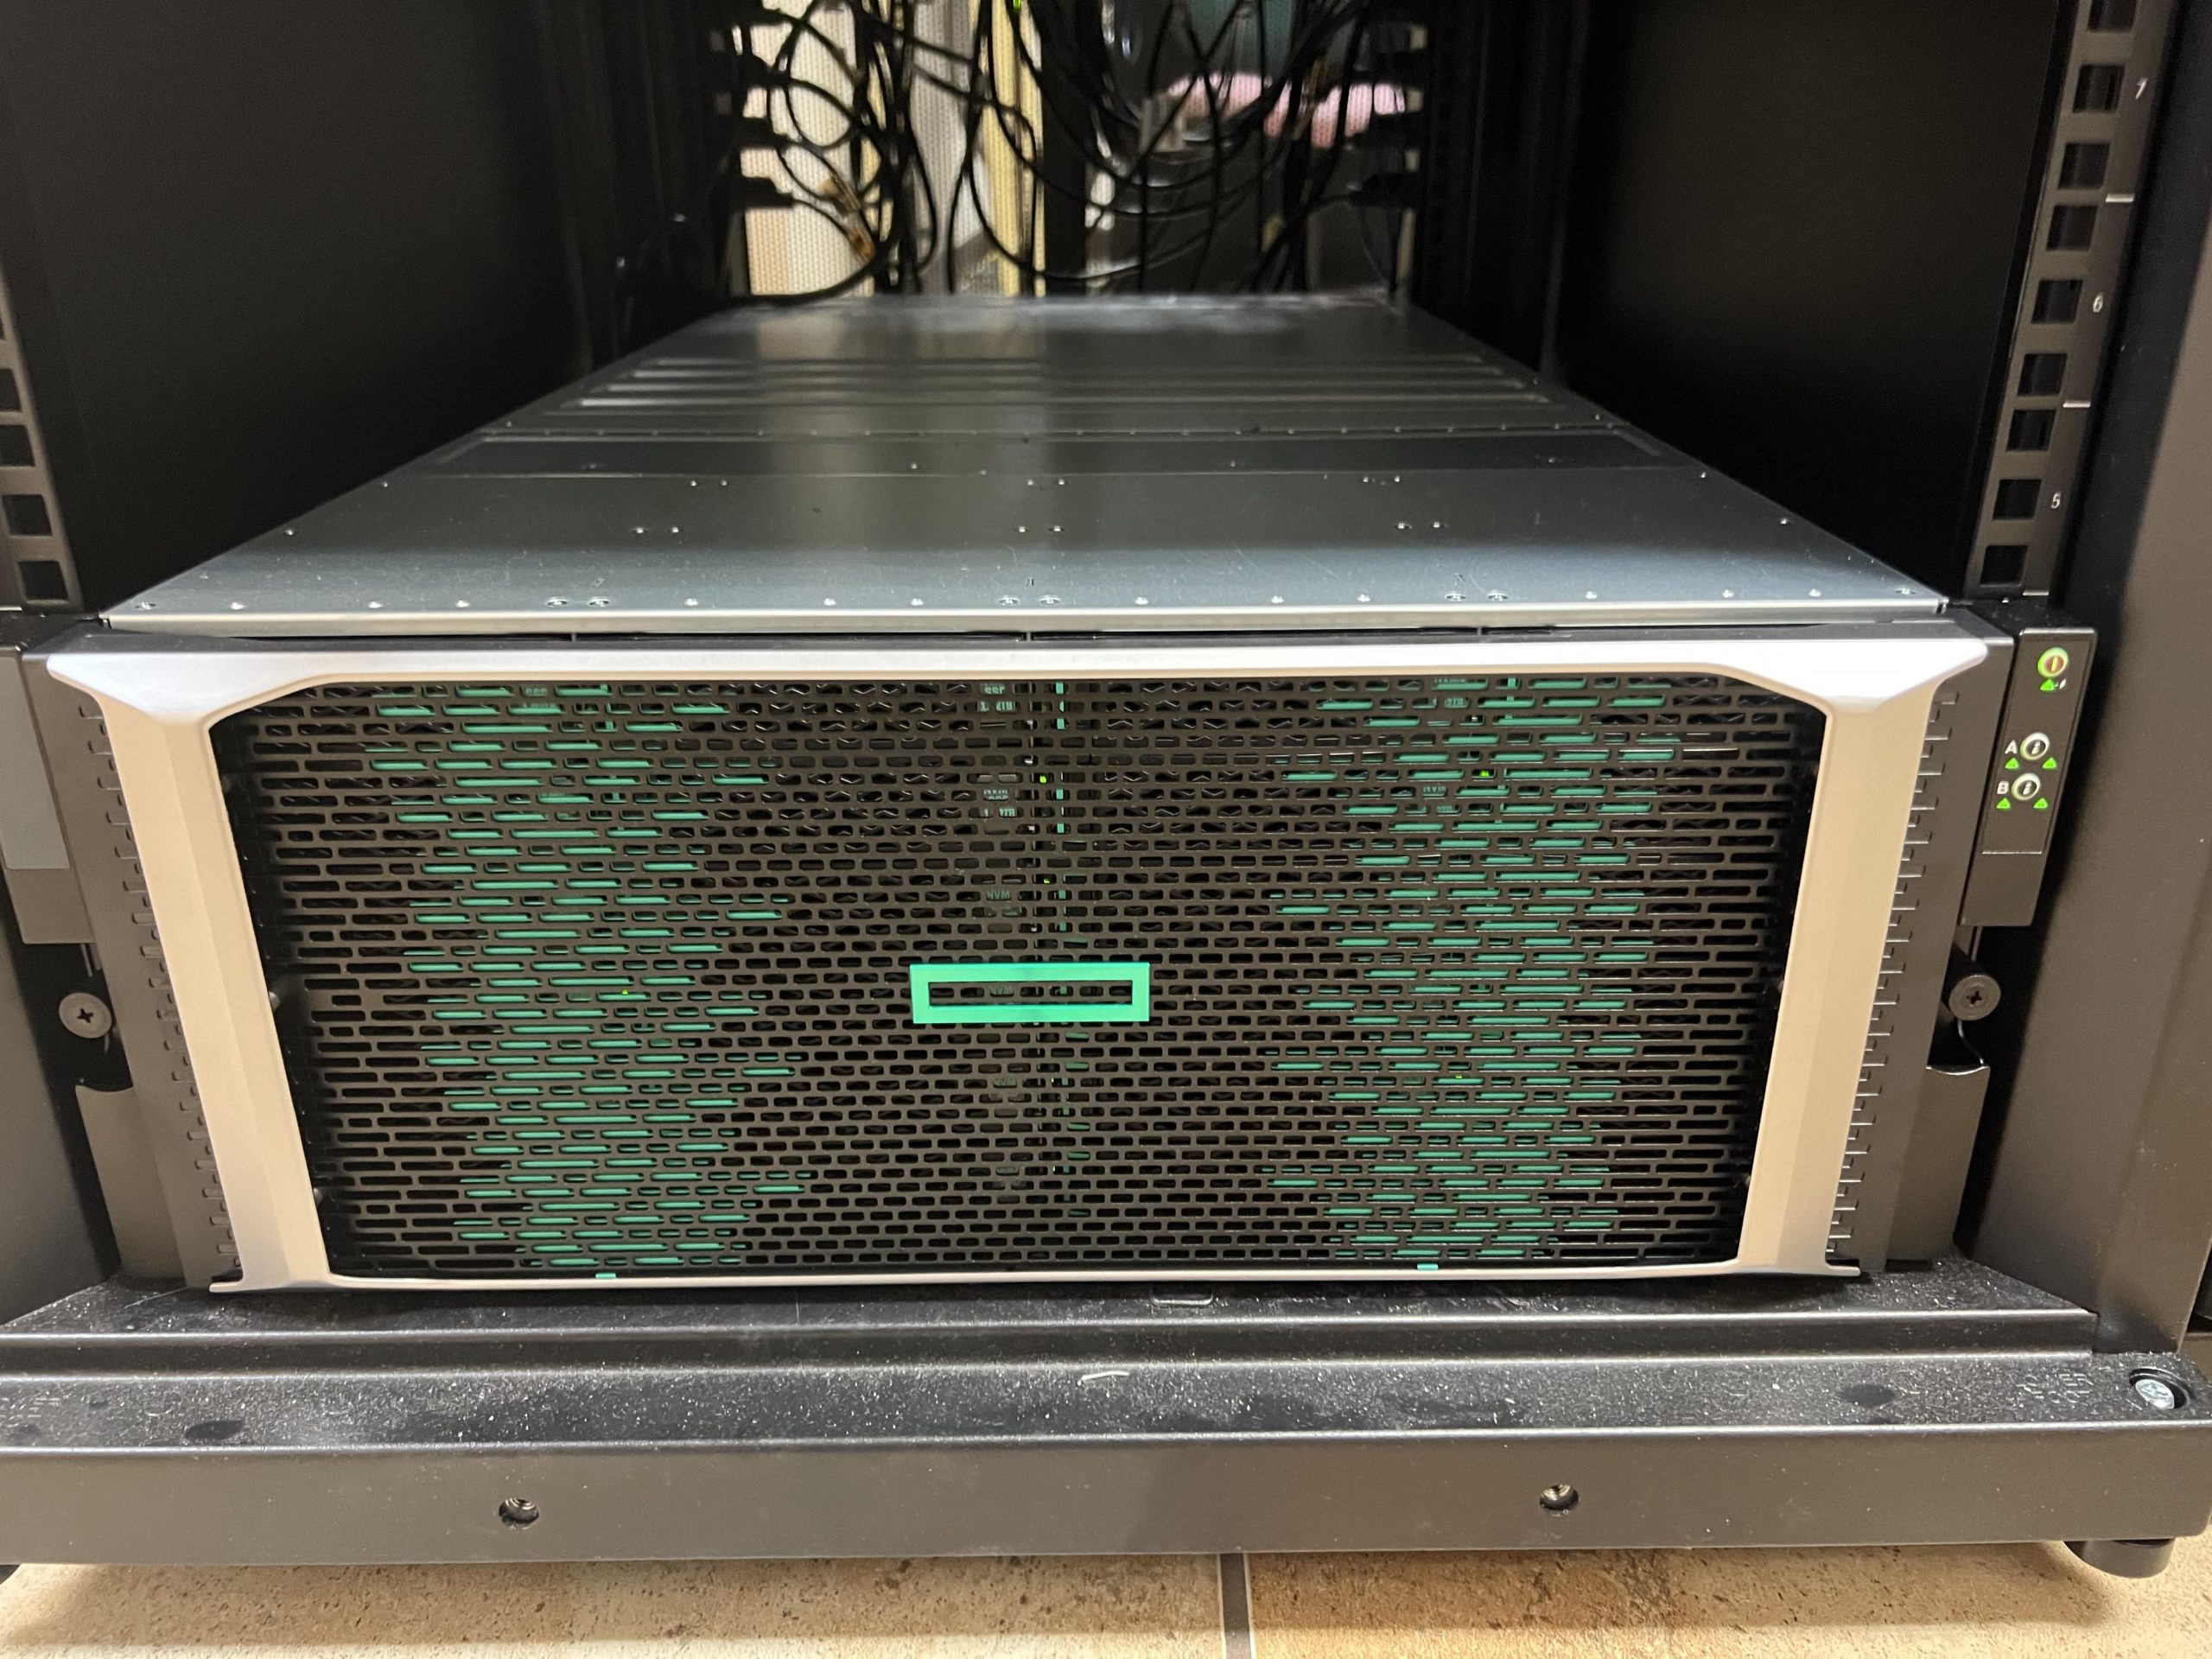
- HPE Alletra 6030 Storage Array (4 – 10GbE Interfaces for iSCSI per controller)
- HPE StoreOnce Backup Appliance
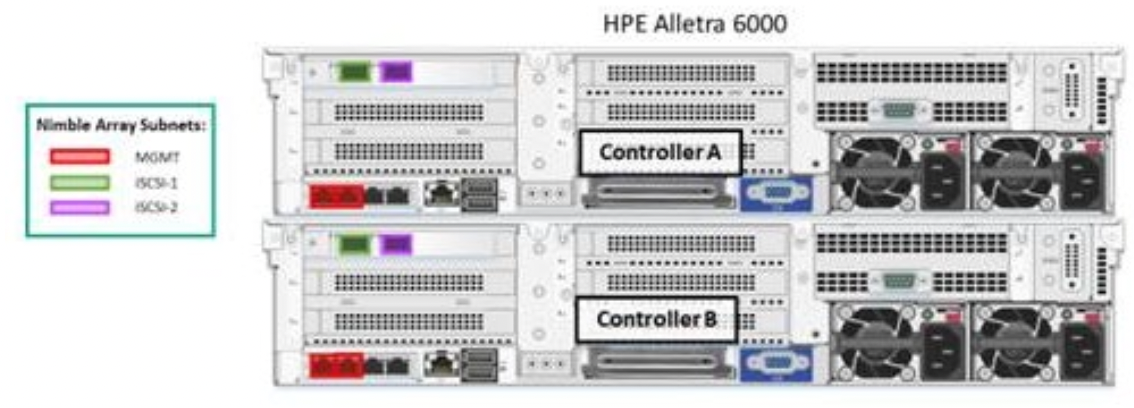
HPE dHCI made an architectural change in version 6.0 of the Nimble/Alletra OS. On the HPE DL360 Get 10 servers, port 1 is management, port 2 is iSCSI 1, port 3 is management and port 4 is iSCSI 2. Prior to version 6.0 the architecture was port 1 management, port 2 management, port 3 iSCSI 1, port 4 iSCSI 2

Two things you need to have setup before you start otherwise you will pull your hair out. DHCP and DNS. The dHCI installation script will not work if DHCP is not running. The script is designed for temporary IP address assigned to the iLO ports. The script then assigns permanent IP address to each of the interfaces during the installation process.
DNS must be functional and a FQDN for vCenter must be added. A reverse DNS record also must exist.
Configure the HPE SN2010m iSCSI switches first. The HPE M-Series switches are the only component of this solution that need manual configuration (the Aruba switches are automatic). I am very impressed with the design of the switches. They are half height so 2 switches only consume 1U. The rack kit has been engineered with power cables in mind. Instead of running the cables from the back and draping them over the front, the rack kits includes a cavity to run the power cords on the side of the switches to the front of the switch. No messy cables. I thought it was genius.
We chose to use copper DAC for the iSCSI links. This supported 25GbE from the Alletra array to the SN2010m. The switch supports (18) SFP28/SFP interfaces. Each interface will either run at 25GbE (SFP28) OR 10GbE (SFP). To achieve the maximum performance from the Alletra 6030, each controller must have (4) 10GbE ports. Don’t forget to force the speed to 10GbE and force Jumbo Frames to 9000 MTU (see config below). MLAG is configured on interface 19 and 20 using (2) 100GbE DAC. There are also enough available ports to support 10 additional servers.
Here is an example switch configuration to get you started. Be sure to upgrade the Onyx OS to the latest version.
##
## Running database "initial"
## Generated at 2022/05/06 17:01:39 -0700
## Hostname: SWSTG1-AIS-SD
## Product release: 3.9.0612
##

##
## Running-config temporary prefix mode setting
##
no cli default prefix-modes enable

##
## MLAG protocol
##
   protocol mlag

##
## Interface Ethernet configuration
##
   interface port-channel 256
   interface ethernet 1/1-1/18 speed 10G force
   interface ethernet 1/1-1/18 mtu 9216 force
   interface ethernet 1/19-1/22 mtu 9216 force
   interface ethernet 1/1-1/18 flowcontrol receive on force
   interface ethernet 1/1-1/18 flowcontrol send on force
   interface ethernet 1/19-1/22 flowcontrol receive on force
   interface ethernet 1/19-1/22 flowcontrol send on force
   interface ethernet 1/19-1/20 channel-group 256 mode active
   interface ethernet 1/1 description Nimble Ctrl A iSCSI1 TG1A
   interface ethernet 1/2 description Nimble Ctrl B iSCSI1 TG1A
   interface ethernet 1/3 description ProLiant#1 iSCSI1
   interface ethernet 1/4 description ProLiant#2 iSCSI1
   interface ethernet 1/5 description ProLiant#3 iSCSI1
   interface ethernet 1/6 description ProLiant#4 iSCSI1
   interface ethernet 1/10 description Laptop port for testing
   interface ethernet 1/19 description IPL
   interface ethernet 1/20 description IPL
   interface ethernet 1/11-1/18 shutdown
   interface ethernet 1/21-1/22 shutdown

##
## LAG configuration
##
   lacp
   port-channel load-balance ethernet source-destination-mac

##
## VLAN configuration
##
   vlan 100
   vlan 252-253
   vlan 4000
   interface ethernet 1/1-1/10 switchport access vlan 252
   vlan 100 name "Mgmt"
   vlan 252 name "iSCSI1"
   vlan 253 name "iSCSI2"
   vlan 4000 name "IPL"

##
## STP configuration
##
no spanning-tree

##
## L3 configuration
##
   ip routing vrf default
   interface vlan 4000
   interface vlan 4000 ip address 172.16.1.1/29 primary
   interface vlan 4000 mtu 9216
   ip route vrf default 169.254.0.0/16 null0

##
## DCBX PFC configuration
##
   dcb priority-flow-control enable force
   interface port-channel 256 dcb priority-flow-control mode on force

##
## Telemetry configuration
##
no what-just-happened auto-export acl enable
no what-just-happened auto-export buffer enable
no what-just-happened auto-export forwarding enable

##
## MLAG configurations
##
no mlag shutdown
   interface port-channel 256 ipl 1
   interface vlan 4000 ipl 1 peer-address 172.16.1.2

##
## Network interface configuration
##
no interface mgmt0 dhcp
   interface mgmt0 ip address 192.168.100.103 /24

##
## Other IP configuration
##
   ip name-server 8.8.8.8
   ip name-server 8.8.4.4
   hostname SWSTG1-AIS-SD
   ip domain-list domain.local
   ip route vrf default 0.0.0.0/0 192.168.100.1

##
## Local user account configuration
##
   username admin password 7 $6$4fDDp/sP$5HOTY8nWcClxX8VoKTEdMiCt6sQbuWBWIXO638A 16oxRnyN7TvpiXIqileQljzgsMOHiCTImtR.f8MTvcdxeU/
   username xmladmin capability admin
no username xmladmin disable
   username xmladmin full-name "XML Admin User"
   username xmladmin password 7 $6$nHVLuh/.$nkTB77KylkvyyjnHlfKiLzEJvzOCM2PWYLHu yV/grWi417KfCmZ0C2maEua8amzfe8P/Np3M32dbSEnrVmlsD0
   username xmluser capability monitor
no username xmluser disable
   username xmluser full-name "XML Monitor User"
   username xmluser password 7 $6$Z9Nazq9n$fPXUf.qAIDvisF6cAyXYje1OueJwtJMTjYcnh VxYASxL8jpcOZG3G4dXBxfON3BNB.8lDWaNtSqAKN23RRX6z1

##
## AAA remote server configuration
##
# ldap bind-password ********
# radius-server key ********
# tacacs-server key ********

##
## SNMP configuration
##
   snmp-server location "1234 Anywhere Street, USA"

##
## Network management configuration
##
# web proxy auth basic password ********
   banner login "HPE StoreFabric Management Console"
   banner motd "HPE StoreFabric Switch"
   clock timezone America North United_States Pacific
no ntp server pool.ntp.org disable
   ntp server pool.ntp.org keyID 0
no ntp server pool.ntp.org trusted-enable
   ntp server pool.ntp.org version 4
   web https ssl ciphers all

##
## X.509 certificates configuration
##
#
# Certificate name system-self-signed, ID 015acdca323a8bd7159d6afe12815a9aa1fe65 8d
# (public-cert config omitted since private-key config is hidden)

##
## Persistent prefix mode setting
##
cli default prefix-modes enable
After the iSCSI switch configuration is complete you are ready to setup the Alletra Array
IMPORTANT – All Alletra 6000 and 9000 series require a Data Services Cloud Console, you must set up a cloud account before you configure the array. First, create your HPE Greenlake account. I’m not exactly sure what value Data Services Cloud Console provides. I just know you need to have a subscription and need to assign the license to the array before it is happy. Detailed instructions.
Other gotchas and guidance:
- Disable IGMP Snooping on the network switch (in this install it was the Cisco 350)
- You must use https and enter the actual array serial number.
- You should have Bonjour services installed on your laptop before you connect to the dHCI-enabled array.
- Open a web browser and enter https://<array_serial_number>.local
We found this HPE dHCI Pre-Installation Workbook to be extremely helpful. We work with each client to get this information completed. This is the information that is used during the dHCI installation process.
After the dHCI environment was setup and all failover testing was successful. We installed a fiber channel card into the Alletra to assist with the data migration. Most of the virtual machines were moved using storage vmotion. Virtual machines with large drives were copied to a temporary “migration” volume. That volume was presented over fiber channel to the old infrastructure, the virtual machines were copied to the migration volume, shut down, then represented over iSCSI and powered back on. This made transfer times very fast. The fiber channel network was 16GB.
The Alletra 6030 also represented a 300% performance increase due to the all-flash NVMe configuration. Reports that took 45 minutes to completed on the 3PAR array now take 15 minutes on the new Alletra array.
This was our 10th installation of dHCI. We love it. Our customers love it. It’s a win/win given the ability to scale compute and storage independently and the one-click upgrade process.


Aaron Schneider is the President of Helixstorm, bringing over 20 years of experience in the technology industry. Specializing in cloud computing, business continuity, virtualization, and business technology planning, he helps businesses integrate and adapt new technologies for seamless systems.